Spline to OBJ Converter
Easily convert splines in Giants Editor 10 into OBJ files that can be used in blender to create roads and much more!
On this page
Advertisement
Getting Started
In this doc we will go over how to use the script in Giants Editor 10. If you would like to know how to make the roads please watch the video below.We assume that you already have Giants Editor installed and understand many of the basic functions with the software. In this doc we will refer to Giants Editor as GE.
You can get GE from https://gdn.giants-software.com/
You can get this script from our GitHub.
FSG-FS25-SplineToOBJ-v1.lua
Beginner tutorials coming soon.
To install the script, download from our GitHub page, then copy to the following folder location:
C:\Users\username\AppData\Local\GIANTS Editor 64bit 10.x.x\scriptsMake sure to use the latest version of GE and replace username with your computer's username and select the folder for the latest version of GE.
Once you have put the script in GE's script folder, be sure to restart GE so that it can read the newly added script.
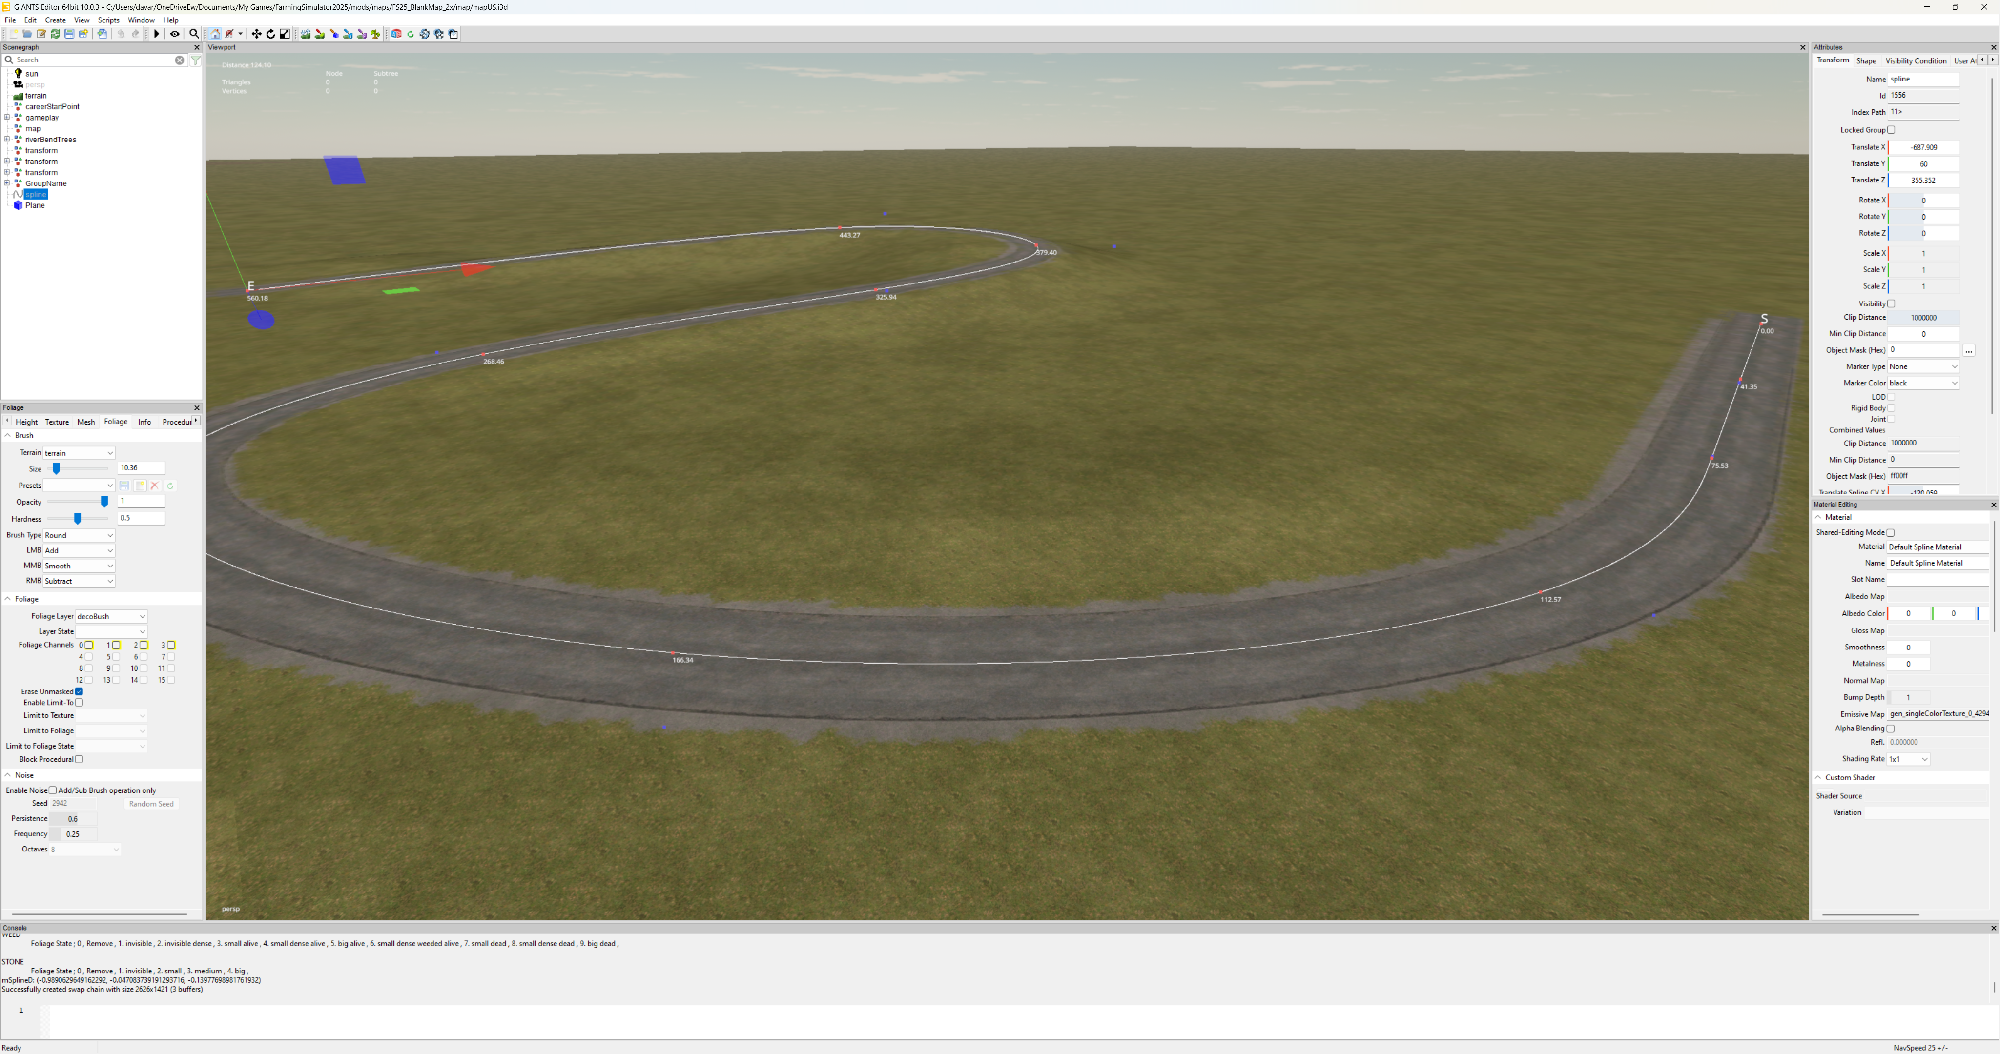
Creating Splines
This script requires splines in Giants Editor to work. While your map is open in GE you will want to click Create then select Spline.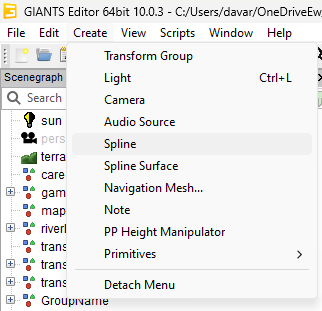
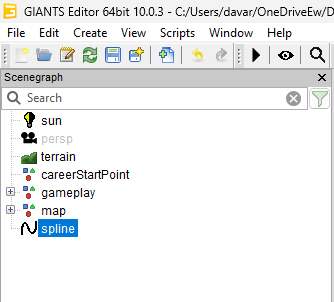
Once created you will see a new Spline in the Scenegraph.
With your spline selected in the scenegraph press Left Ctrl + B then click on the map where you want the spline to be located. This will either be the start or end of the spline.
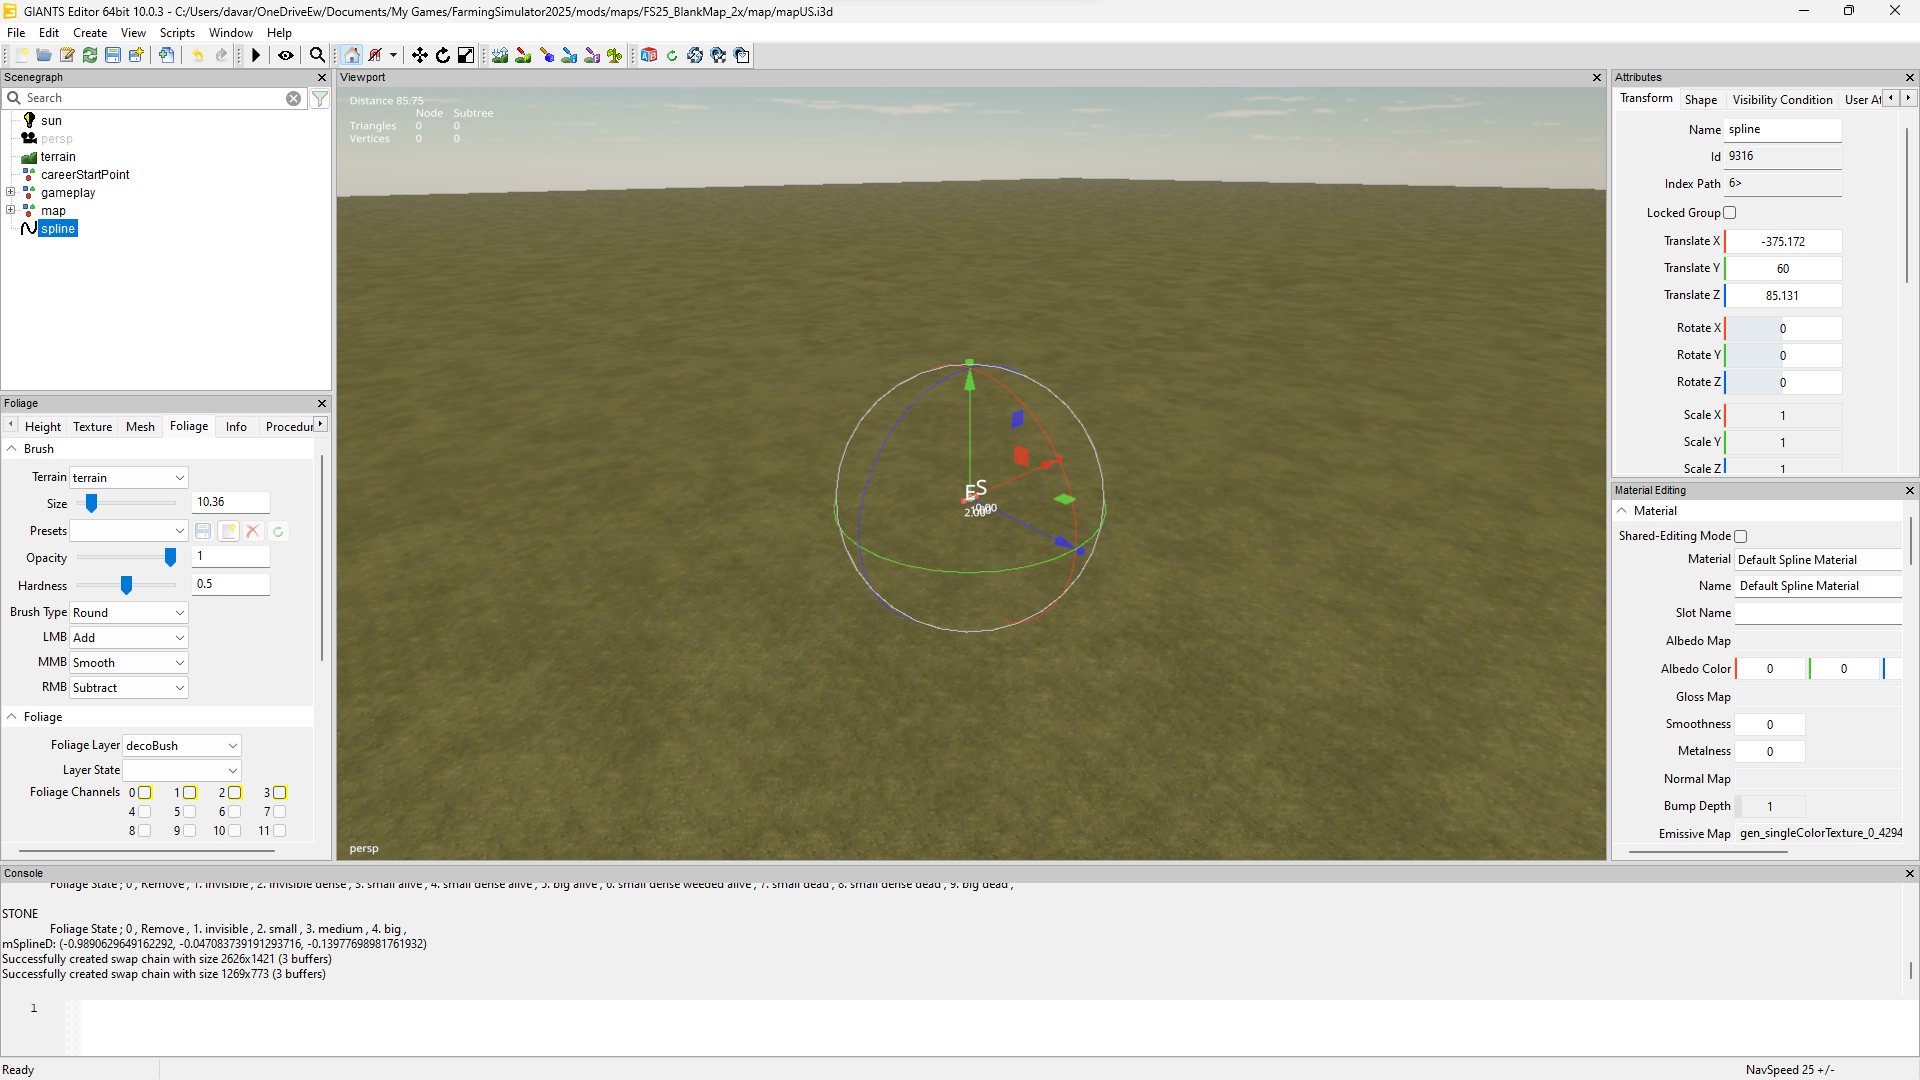
You can use your arrow keys to move the selected point of the spline. So if you click on the spline in the scenegraph then press the left or right arrow it will move to the different points on the spline. We want to either be on the E or S. I always use the E as it is the end of the spline.
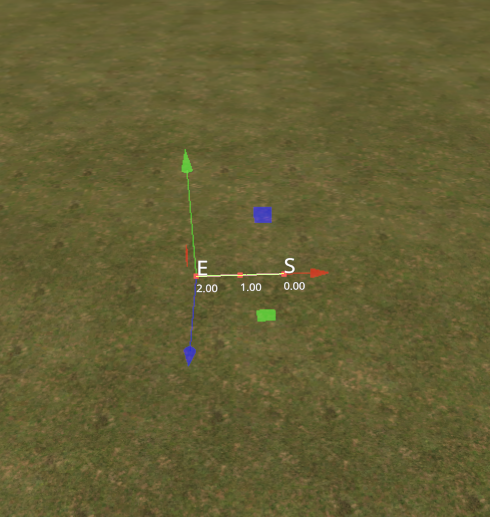
While the end point is selected press the Insert button on your keyboard and it will create a new point.
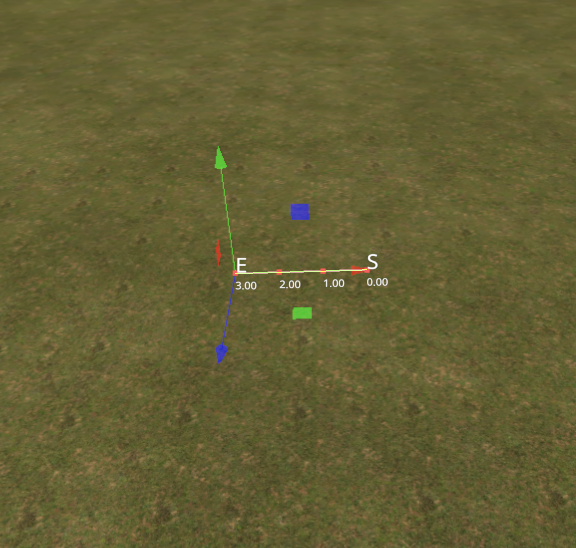
If you press the insert key and the selected point is somewhere in the middle of E and S it will create near that location and not at the start or end.
We will want to press Left Ctrl + B with the end point selected then left click and hold our mouse and move it around. Now wherever we left off the left click is where the spline point will place.
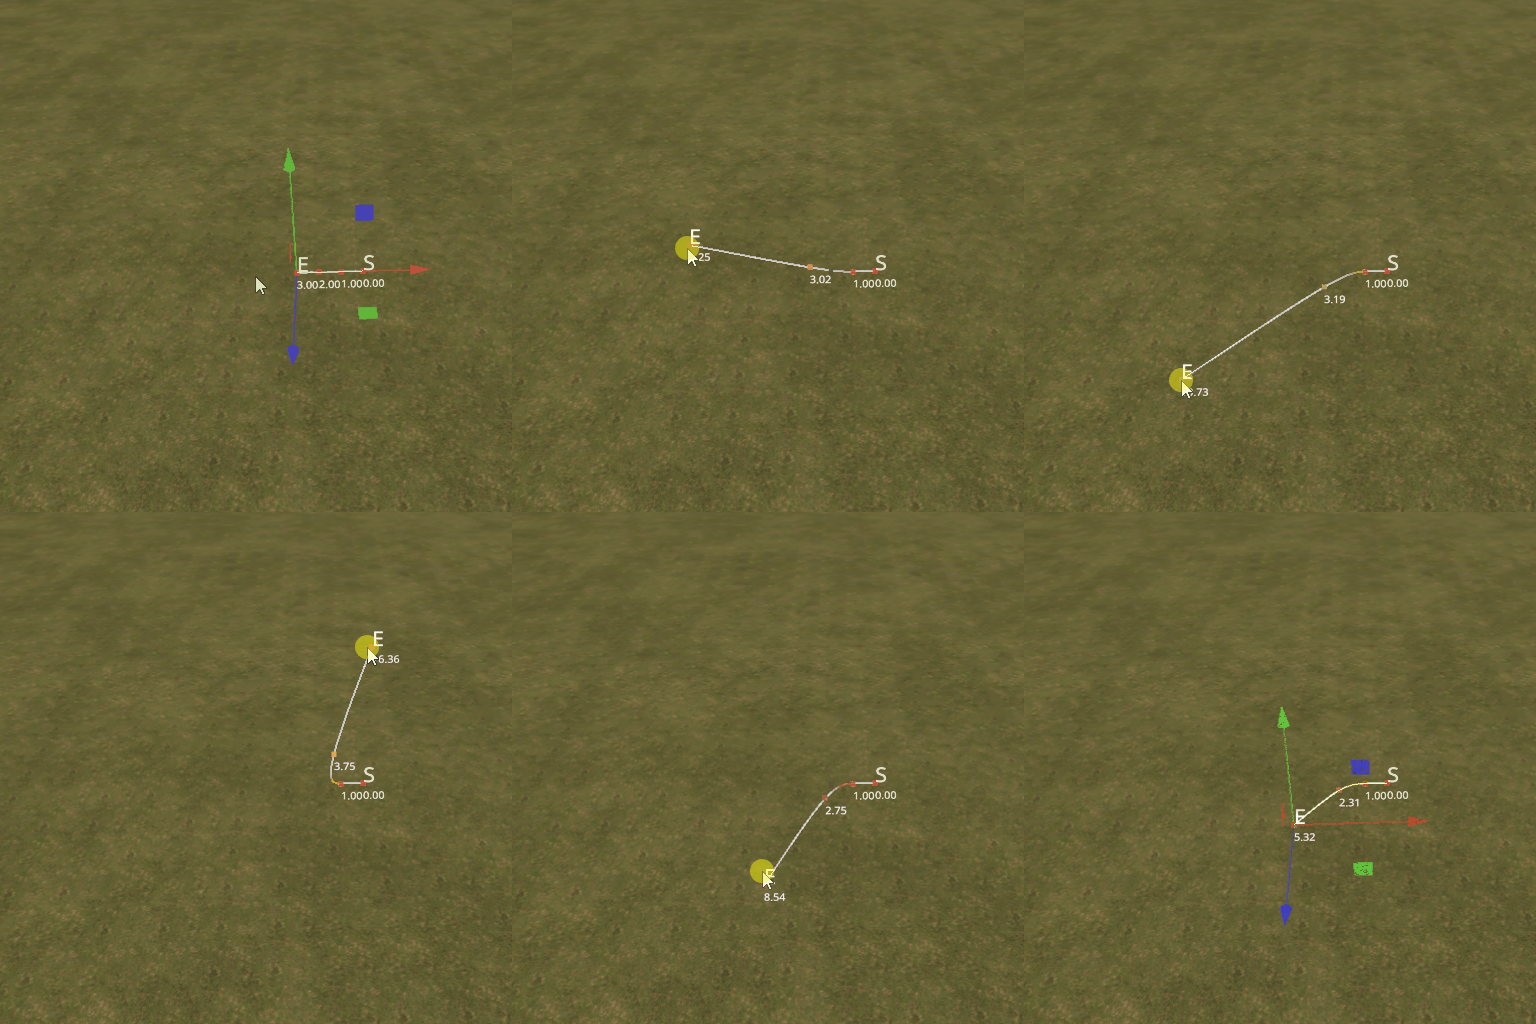
We can now repeat the process of creating more points and using interactive placement to create a spline shape for our road or whatever we need the spline to create for blender.
- Select the spline end point.
- Left Ctrl + B.
- Hold left mouse click.
- Move to desired location on the map.
- Left off the left mouse click to place the point.
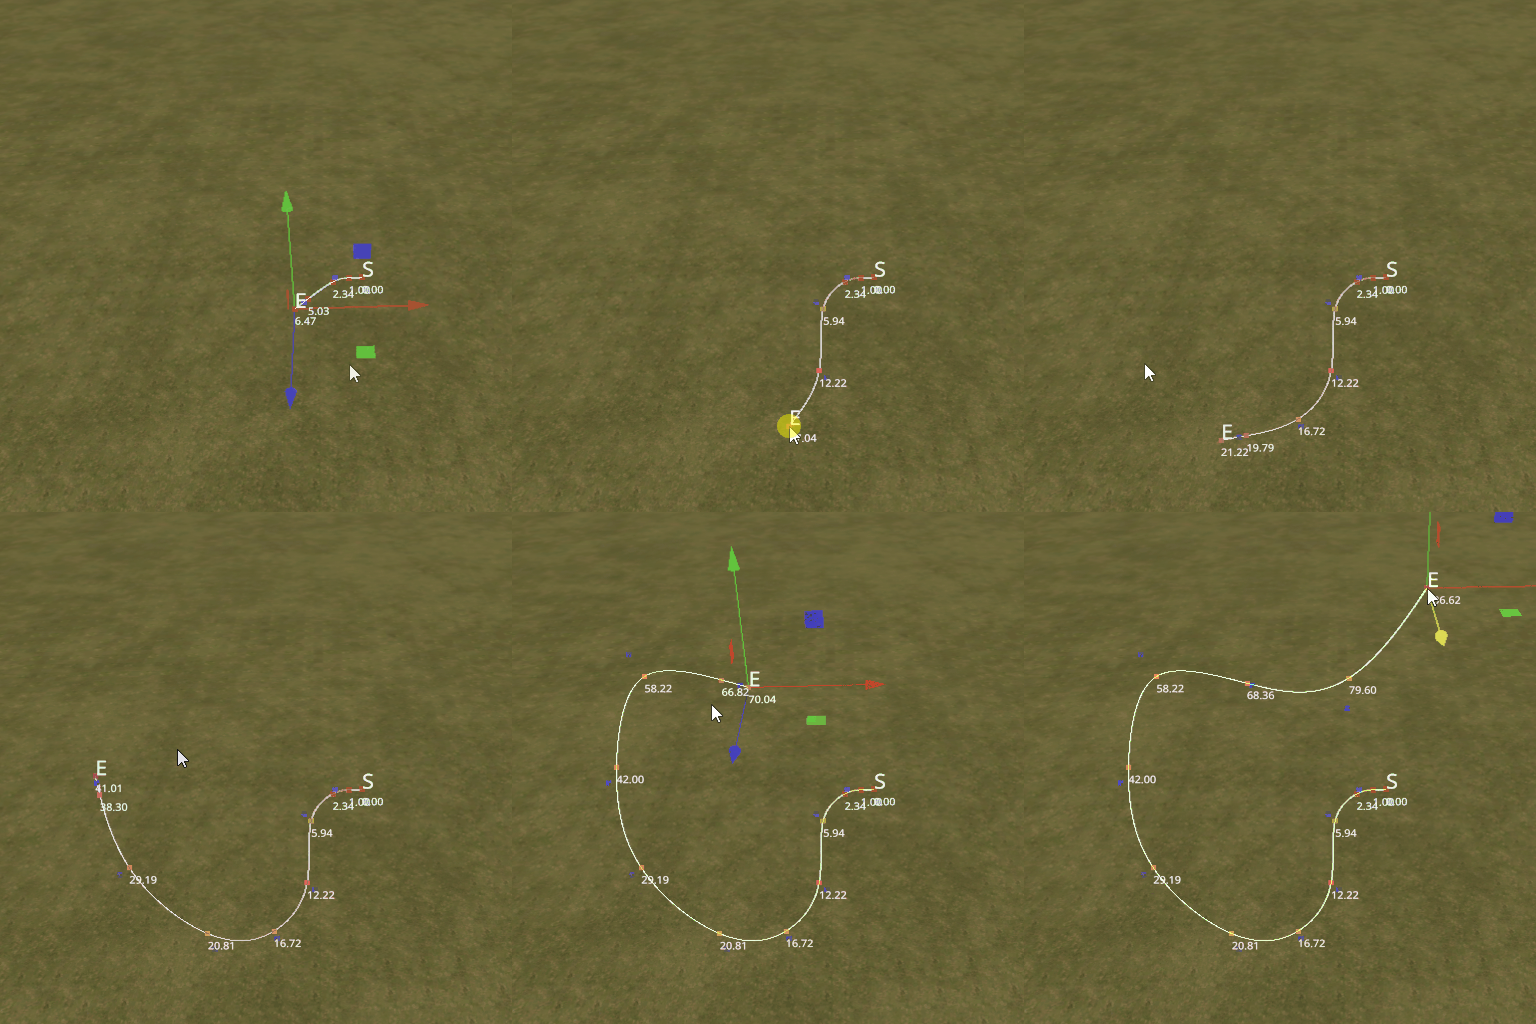
Run Script
Once you have your spline placed and ready to be sent to blender you can run the Spline to OBJ script. It will be in the Scripts menu within the User Scripts section. This will open up a new window with a setting that lets you choose how far apart you want the vertex points to be along the spline. Default is 4 meters. The lower the number the closer they will be, the higher the number the more spaced out they will be. For roads 4 meters works rather well.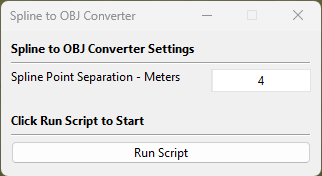
With the spline selected in the scenegraph you can click Run Script in the window and it will pop up asking where to save the file. In the filename field enter a unique filename that does not already exist then click open. GE is not setup to show as save, so in this case open is save.
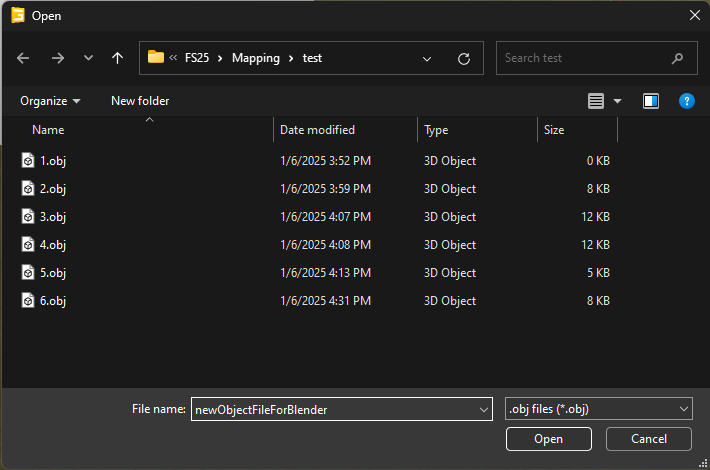
If you have the console visible in GE it will show a success message once complete. It should be rather quick.
Import into Blender
Once you have your object file created and you are ready to import into blender, go ahead and start blender. In this case we are going to start with a fresh blender file that has nothing in it. In this case I am using blender 4.0 but the process should be the same with other versions.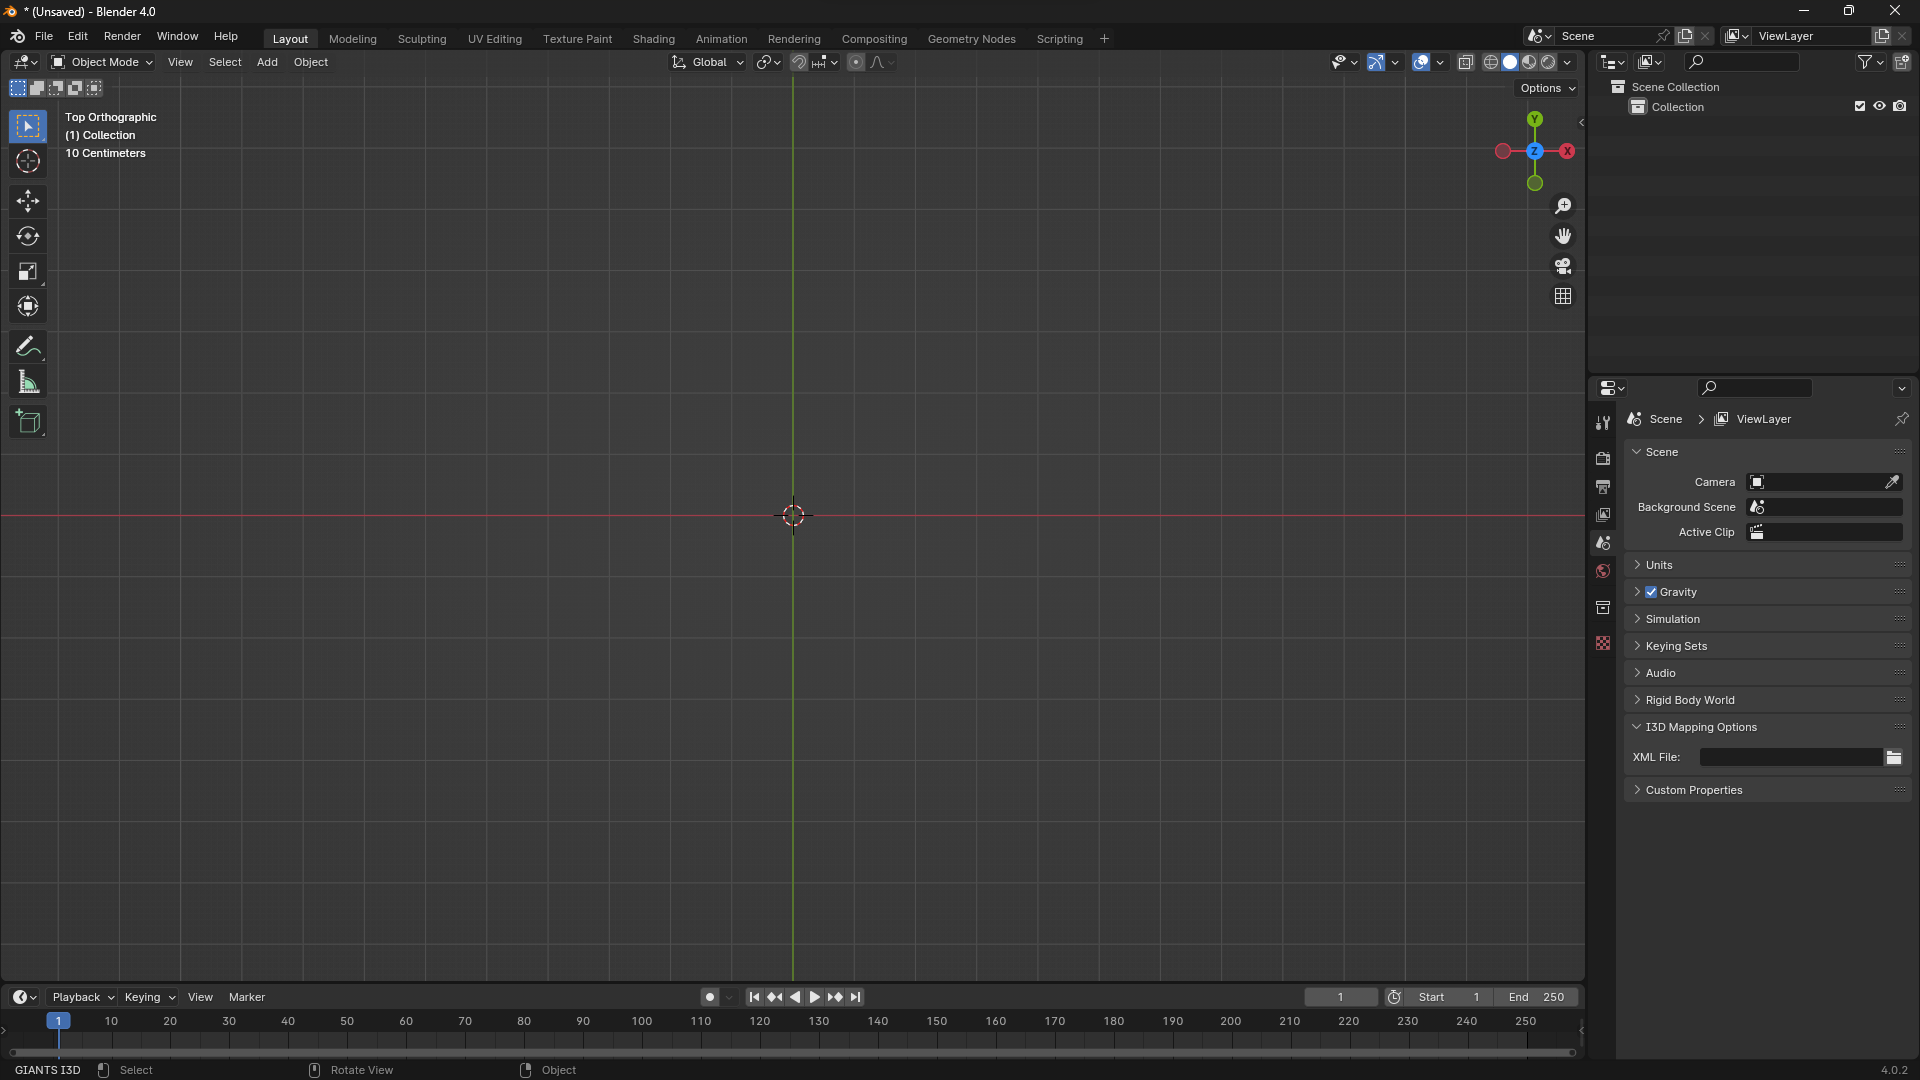
We will want to click on the File menu then hover over Import and click on Wavefront (.obj).
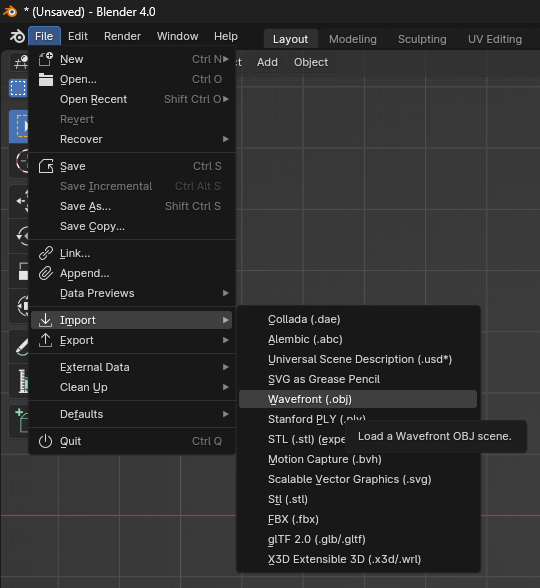
This will open up a file explorer where we can select the object file we created in GE earlier.
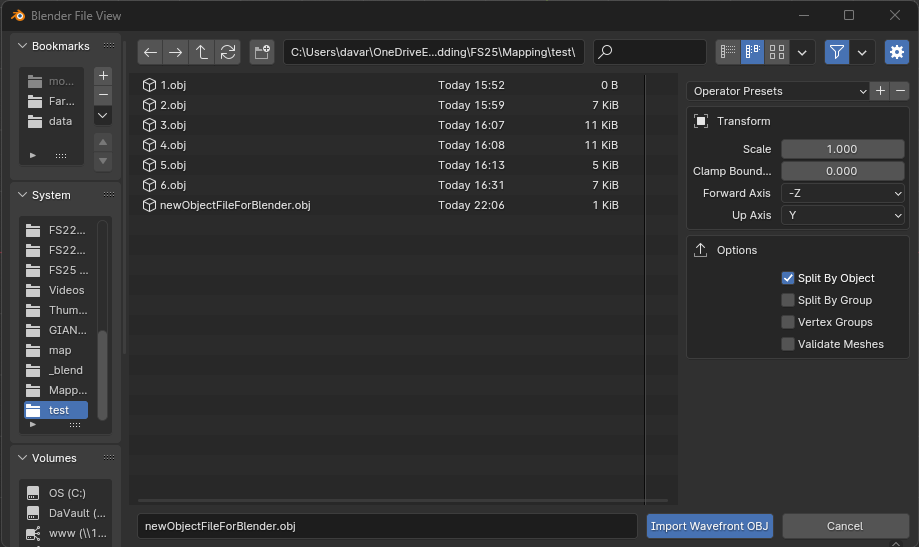
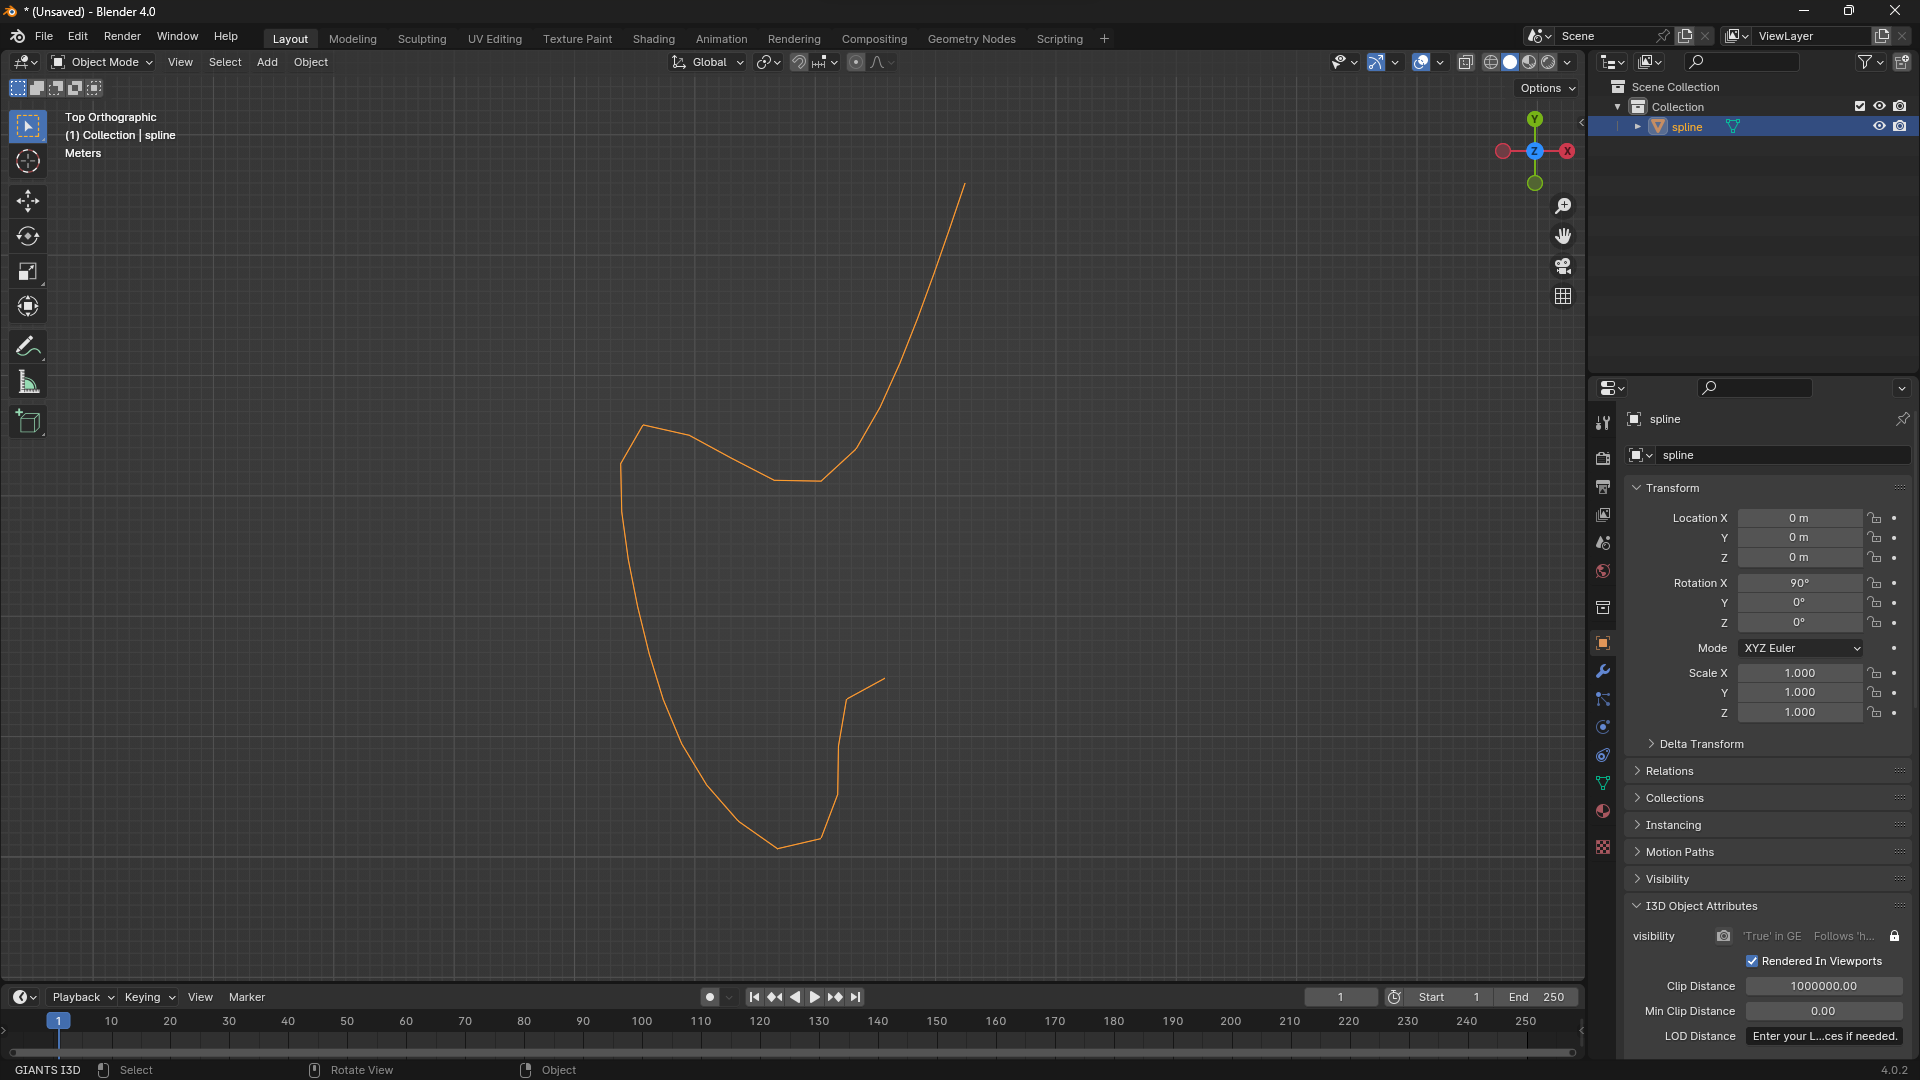
Click Import Wavefront OBJ and blender will load the file with the same name as what it was in GE. I this case we never changed the name of the spline so the name of this object is spline in the scene collection. Once imported it may not show up in the view, which is ok. We don't want to move the location of the spline in blender as it will throw things off when we export back to GE.
To center the newly added spline we select it in the scene collection, move the mouse cursor into the main window, and press the period . key on the numpad.
If we go into edit mode we can see how many points were created. With the spline selected press the Tab key.
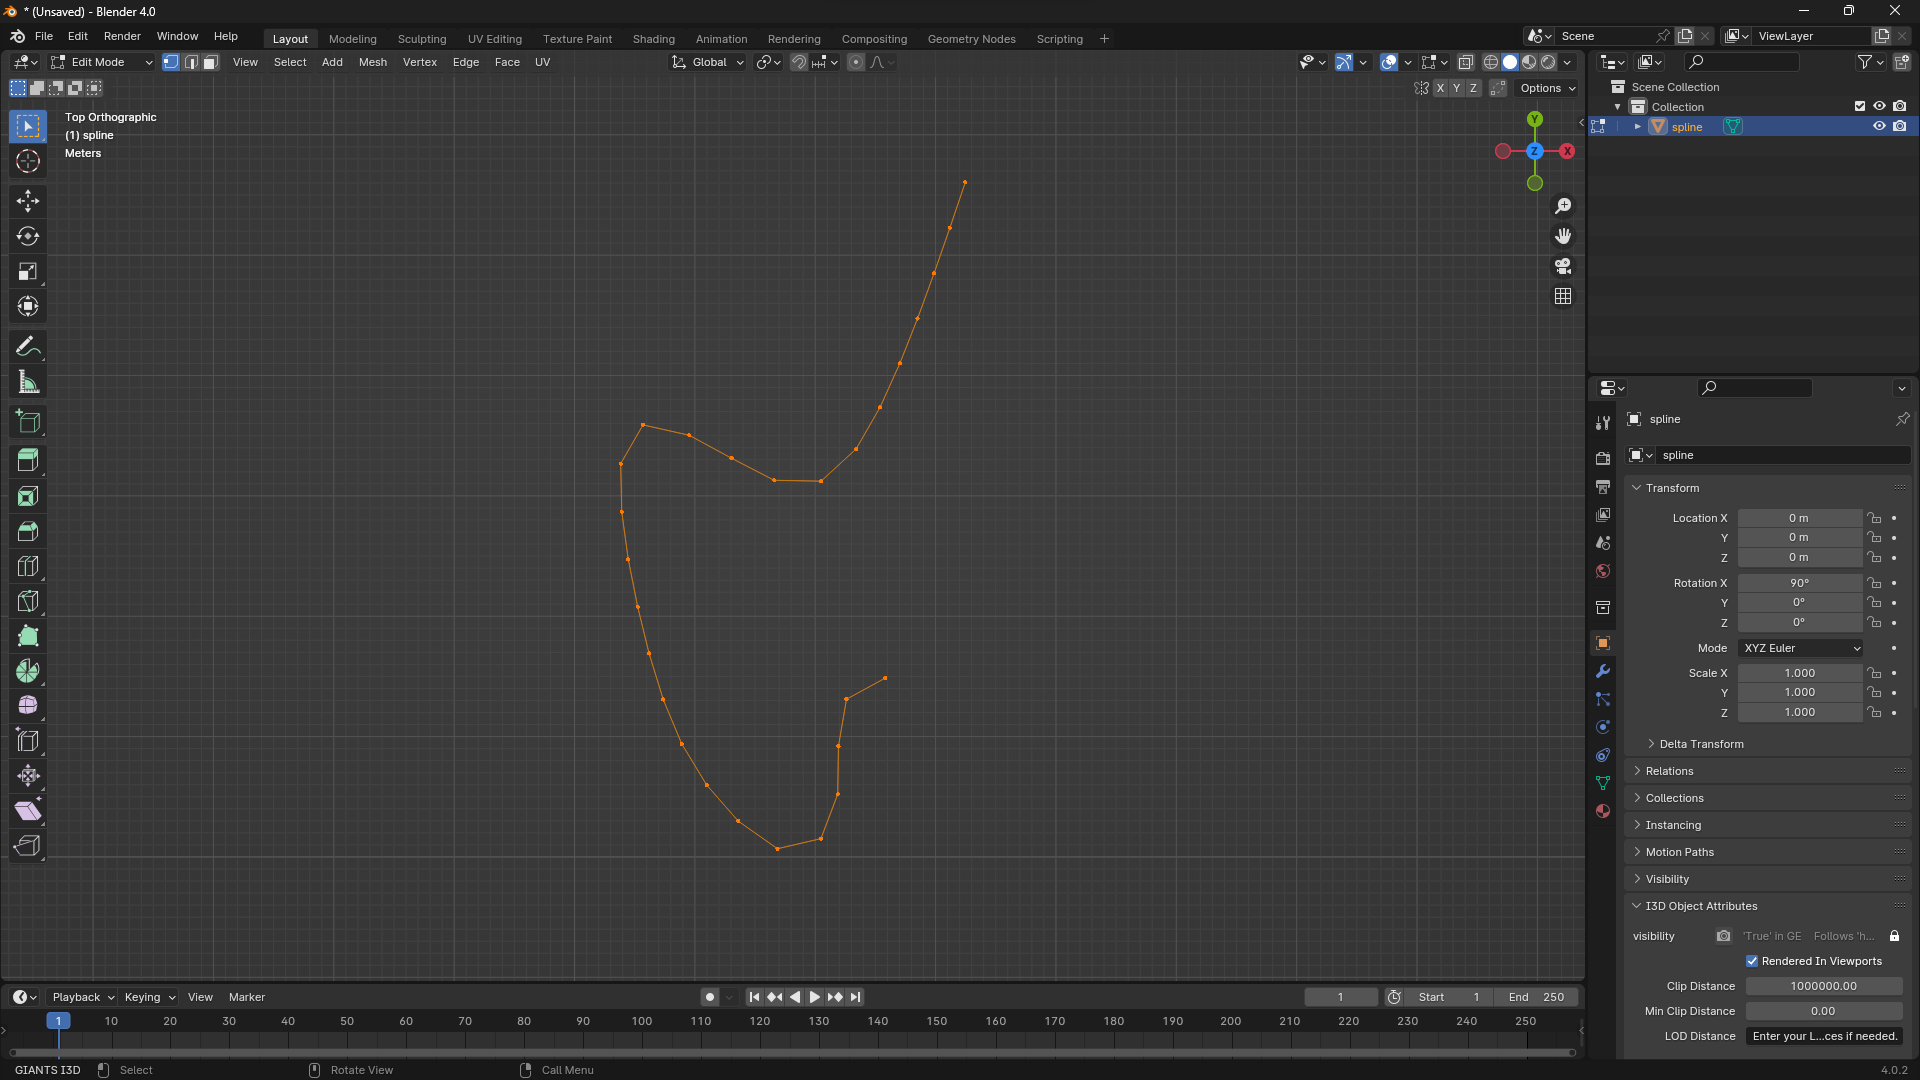
You have successfully created a spline and imported into blender to do cool things with.
Advertisement